Hello!

"What we see depends mainly on what we look for." ~Sir John Lubbock

THIS BLOG HAS MOVED TO www.michellehedgecock.com. Feel free to explore past posts here, then please come by for continued creative fun! If you like what you read, don't forget to "follow" my blog at its new site, to continue to receive creative fun and inspiration in your mailbox! Thank you.


Monday, December 19, 2011

Creativity Walk: Partner Mandala Making

Participants writing poem notes
from exchanged word lists.
This past weekend I led creativity walk in the beautiful La Quinta cove. On this particular walk we were blessed by a little desert rain, a rare event perfect for quenching our creative thirst. We began with a word gathering walk, followed by poem notes writing. As the rain started to fall a little heavier, we worked our way back to a shelter where we finished off our partner mandalas.
 
Inspired by a cooperative time-filler found in Family Fun magazine, I have found partner mandalas to be a great exercise for building creative confidence no matter what your artistic ability.
 
Two pairs of partner mandalas.

Each artist gets one color marker and a square sheet of paper. 
 
Partners begin by drawing a circle in the center of their paper, then they swap sheets and add an element to the design (a ring of dots, dashes, zigzag lines, or a more detailed element). Continue swapping and adding elements until your mandala is finished.
 
During our "hike" I encouraged participants to include natural elements in their mandala designs, drawn directly from our surroundings. Images of tracks, clouds, rain/water, palms, trees, flowers, rocks, lightning, snakes, bones, footprints, etc. emerged. The photos (to theleft and at the bottom of post) are of the partner mandalas created during the hike.


Try these alternatives!
  • Find a area with plenty of natural materials (rocks, leaves, twigs, petals, sand, etc.) and have each partner alternate turns adding a ring using these materials only.
  • Create a color page mandala. Use brown, grey, and/or black markers to create mandala designs you can transform yet again by coloring.
  • Create a family mandala during the holidays or a vacation. Leave a jar of colored pens or pencils along with the ongoing design out where family members can add their own ring related to their experience(s). You can assign each family member a color or let them choose as they go. *Try to keep colors alternating
  • Make a journal madala. During your next vacation, retreat, or as a personal journaling exercise, add a daily ring to your madala design to represent the emotion or experience(s) from each day.
  • Try this partner technique with your children, you might be amazed at what you both come up with, I enjoyed this process with my 5 year old son! We loved the designs we created together.
Partner mandala examples, nature inspired.

Monday, December 5, 2011

Don't Let Fear Get You

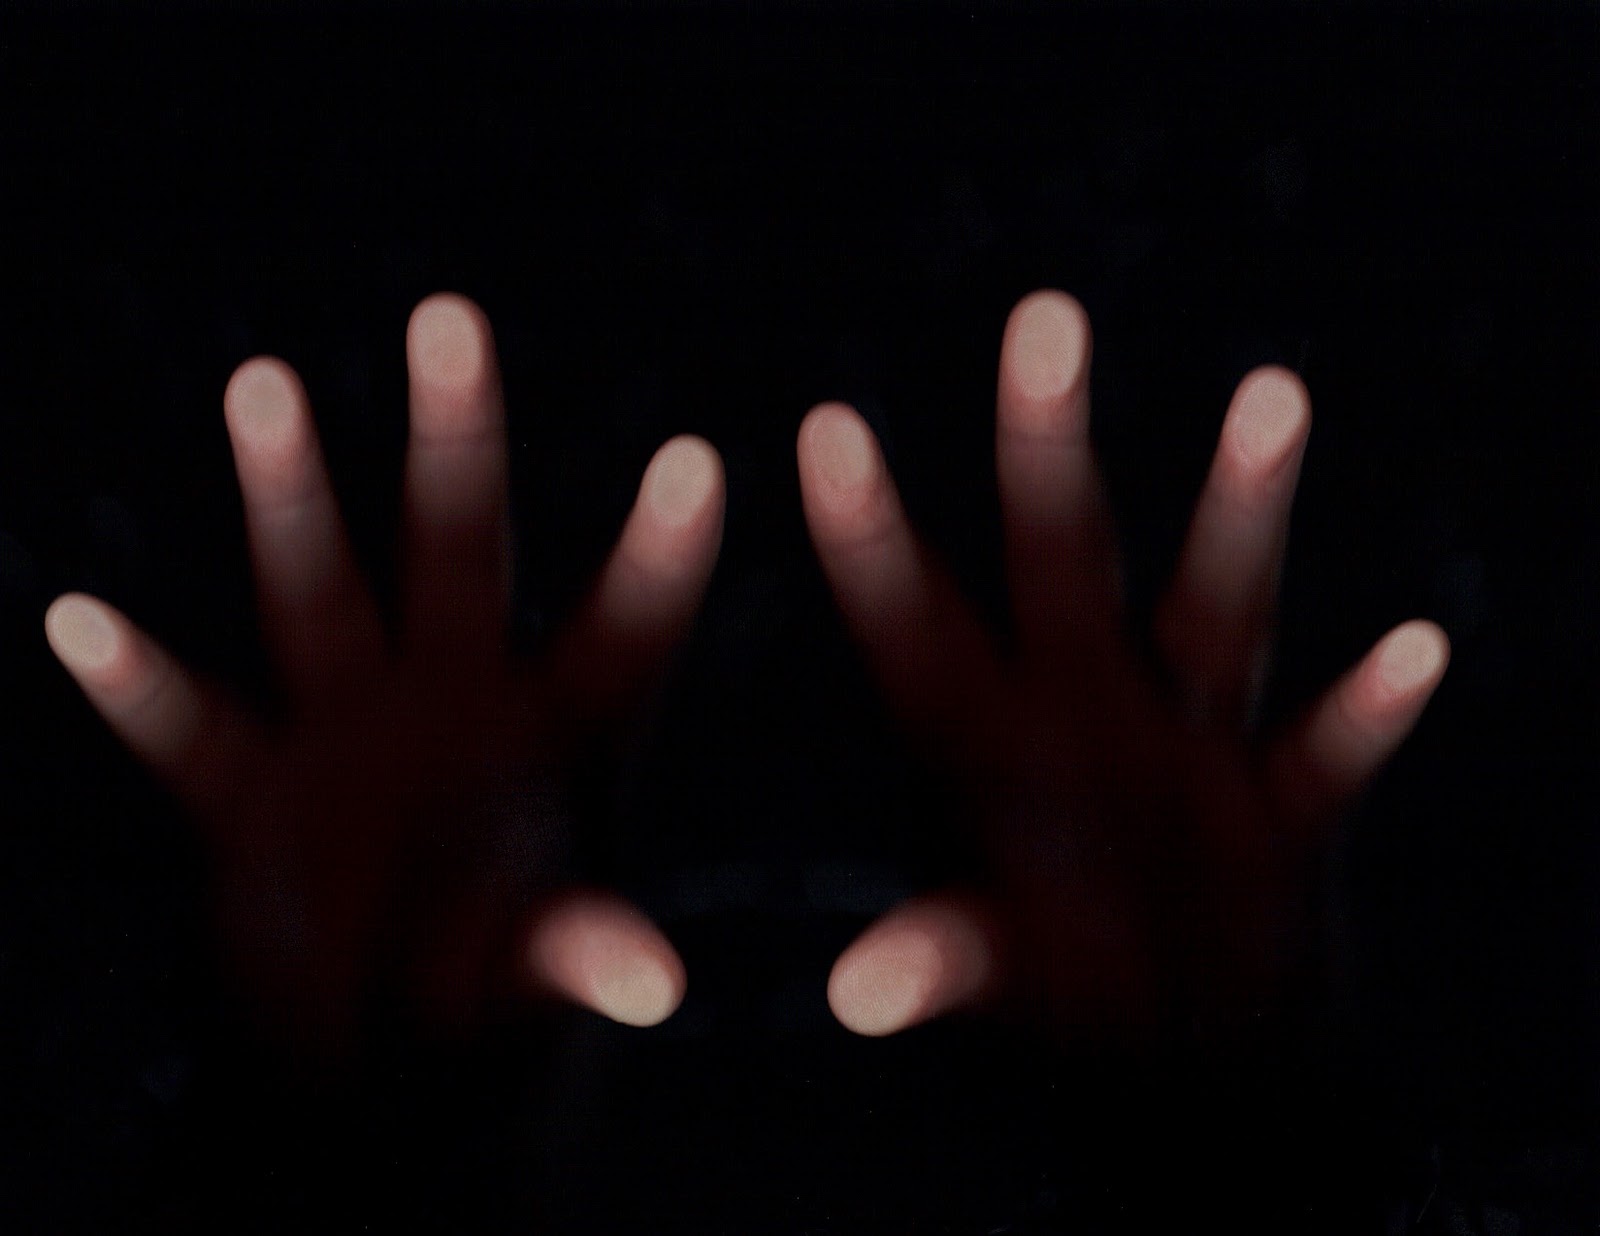
The other night I began a video project, using my scanner. I was inspired to do so through an HGTV show where a design client was a scanner artist, scanning various items and tweaking images in some way. It looked fun and I had to try it...and I suggest you give it a try too!

I started scanning my hands and fingertips, getting some cool effects. Then I moved to my face. The images revealed slightly distorted versions of me that came off with a cool, kind of creepy feel. This in turn inspired me to make the video below, using a succession of my scanned self-portraits.

It is a way to encourage fellow creatives like you to recognize your fear demons--let them motivate you, but DO NOT let your fears take you down. We should not put so much energy into our fears that they manifest into big, terrorizing, creativity-bashing monsters keeping us from our creative growth.

This is something we should remember, no matter where our "fear demons" emerge as negative blocks in our lives, creatively or otherwise. Please watch the clip below (1 min:11 sec) and let me know what you think in the comments!


Saturday, November 19, 2011

Chalking Off In The Canyons

Entrance to Andreas Canyon.
A few weeks ago I spent the morning in Andreas Canyon, one of three incredibly beautiful, incredibly inspiring native oases carved from deep canyons at the base of San Jacinto Peak and the Santa Rosa mountains. The Indian Canyons, as they are collectively called (and managed) by the local Cahuilla tribe, are one of my favorite places to retreat to for a nature/wildlife fix to charge my spiritual, creative, and physical energy.

I was there for a MeetUp with my Let Nature Be YourMuse group. We were there to honor our creative time, simply gathering to make art in the canyons for the morning. I decided to try something new for me—a new medium, something I had never tried before yet have been wanting to for some time: soft pastels.

After exploring around for about 40 minutes, I found my spot. I dropped the chair, the backpack, the blanket, the camera, and water I’d been lugging around and settled in. I pulled out my sketch pad, my clipboard, tape, and my brand new box of pastels, and I set up.

I sat facing a year-round stream, with those yummy layered mountain outcroppings and dense palms framing a nice little scene. It was so lovely. And all of a sudden so complicated. Where do I start? Maybe I should I start out with something simpler? Then I remembered a couple of tips I came across, 1) start with your background first, and then another important tip, 2) make sure you start with dark colors first. Okay...?

I shared smiles with a couple hiking up the rocky steps to my right and they commented on the "beautiful setting I was going to paint." My inner-artist-ego fluttered. I just LOVE it when I happen upon an artist “in the wild” deep in the creative process, reinventing the landscape before them—their work always looks wonderful to me, and I always believe they must have been painting/drawing for years. I wonder if this duo thought that of me? Eh, probably not as my paper was blank. Glaringly blank. Hmm.

I pretty much sat there staring at the palms for a good solid 15 minutes. How do I do this, actually? More hikers. Hmm. Busy trail today. I noticed a nice round bobcat track next to my chair in the mud. Hmm, a freshy. I took a picture of it scaled with a AA battery. Then it happened. I made a deliberate mark on my paper. More hikers came by and now I had to look like I was doing something with it—my cue to just keep drawing! I thought to myself, don’t think Michelle, just experiment, be free loca. And I did. I kept drawing, rubbing, drawing and rubbing. Blowing clouds of chalk off my paper now and then.


My first attempt at soft pastels. Not only did I dis-
cover a new medium I think I'm going to love, at
this point I have a personal, artsy escape to a place
I love on those days I can’t get there.

It turns out I got into to the whole experience and really loved working with those pastels! By the time I had to leave, I was proudly sporting grimey, oily chalk hands and fingertips (maybe bring a towel next time).

I can't wait to continue working on this piece. I’d like to practice some techniques for defining elements on the trail off to the right, and balance out the palms with more palms, foreground too. Oh darn, I forgot to actually use the tape. I haven’t caught that dense oasis feeling yet—arghh! This critical yammering *gasp,* wonder if I overdo it?

Needless to say I am a little intimidated to make that first mark again. Fear creeping back. But I can do this—honestly overall it was just too fun. And next time my “FEAR” flag-waving inner critic can be my towel boy ;)

Onward toward second attempt! 


Sunday, October 30, 2011

Dia de los Muertos


Last weekend I gathered with fellow creatives to spend the afternoon making mini-altars for Day of the Dead. Those of you who know me--even just a little--know that Dia de los Muertos (Day of the Dead) is one of my favorite "holidays" full of creative art and personal expression, passion, and celebration of life and loved ones.

In between taking plenty of pictures and eating yummy pan dulce, chips, guacamole I managed to make two nichos. I was inspired by everyone's personal altars honoring loved ones who have passed, even a beautiful pet altar was on display for a sweet reminder of all the beings in our lives that bring us love and happiness.

Day of the Dead occurs every Nov. 1 and 2. Traditionally, the first day celebrates children, now our "los angelitos" or little angels. The second honors adults who have passed. This is also when families will go to the cemetary and spend the night and day mourning, playing music, eating, celebrating with loved ones at their graves. Day of the Dead is not meant to scare people, it is simply and honestly a day of remembering our dead, it is their day to be honored and we honor them by celebrating their lives and life through altars, offerings of their favorite foods and items, smiling with their memories, and engaging their happiness through fiestas and love.

Nichos, retablos, altars....can be simple or extravagant. Traditionally, these expressions were made from old boxes, cigar boxes, cans or small tin boxes--anything put together or that could be used to create a niche for placing objects that honor someone you love, who has passed. It's a great way to incorporate recycled materals into your art! 

Below are photos showing the found materials for my nichos, specifically a found car ashtray and a found metal scrap round, also I used a toy plastic scorpion which I "transformed" just by using fine black glitter. I attached a bone skull bead to a feather butterfly and added more black glitter to the body. Glitter, sequin, bright paints and color are simple and very effective Day of the Dead elements to make your nicho or altar sparkle with celebration :)


Grab a photo, jewelry, notes, a small box, paint or other artsy accents and create your own memory box (altar!) in honor of someone you miss and love. Bring it out once a year for Dia de los Muertos or keep it close to you in a special place. Express yourself in this way and you are are sure to feel the magic of those you love.

Would you like to see more of my Day of the Dead? Click my set on Flickr! 


Thursday, October 27, 2011

F.A.T. Release: "El burro sabe mas..." Palm Springs, CA

As many of you already know I happily participate in an online community of artists who leave their works in public places for people to find. This particular group is known as Found Art Tuesday and was originally started by artist Rosa Murillo. I am inviting fellow creatives like YOU and friends in my art meetup group (Let Nature Be Your Muse) to start doing this locally--join the Flickr group if you wish to post your experiences and of course your work. 

Meanwhile, it had been awhile since I've left something somewhere and I decided to get back to it by leaving this little piece called "a,e,i,o,u -- el burro sabe mas que tu" hanging from a light fixture by the restrooms and back entrance/exit in my favorite local Mexican restaurant. The little rush of excitement returned as I tried to hang it up there before I was spotted!

I wonder who will be the one to check it out and (hopefully) take it home with them?!

Monday, October 24, 2011

Land Art


Whitewater Preserve

A couple of weekends ago, my art MeetUp group gathered at the Whitewater Preserve for a morning of land art creations. It was the first time since I was a child, building stick houses around exposed tree roots, that I planned on creating something using only natural material and tools strictly from the surrounding environment. In the spirit of true land artists, we used no rope, glue, paper clips, etc. to bring our vision to life. I did bring gloves for moving around river rocks, but never used them.

Before arriving my intention was to create something using the plentiful rocks by the river. But once I got to the site, I saw lots of driftwood that inspired something completely different.

Excited to have a new idea, I began gathering. And gathering. Gathering armloads upon armloads of  "just right" pieces of driftwood. I knew I would need alot, but quickly realized I would need much more than I expected!

During the 2 and 1/2 hours I tried my hand at land art, I'd gained a whole new appreciation and respect for land artists  and what they see in the wilds around them, and especially for their patience, flexibility and the physical work involved with bringing about their masterpieces.

At the end of three hours, our small group reconvened for a short break and a light discussion sharing our experience in trying this, followed by an inspiring walking tour of each participant's work throughout the Preserve. It was a fantastic way to spend the morning out in nature and in such a creative way. I can't wait to try this again!

Check out my first land art creation in the photos below. Click the link at the end of this post for more images from the day, including the five other installations!

If I had more time, I would have kept going by adding 
more rays to try and make more of a stylized
octopus-like design.


I was very proud of this ray!

After about three hours of working solo, we
gathered for our own land art "gallery" tour,
visiting each participant's works throughout
the different environments at the preserve.

For more images of the day, please visit this photo album full of fellow creative's land art creations!

Sunday, September 25, 2011

Paint Chip Poetry

Oh how I love playing and creating with paint chips. Lately, I’ve been making plenty of paint chip poems. I decided to go through my “pile” of paint chips that I’ve been collecting from my frequent stops at our home improvement stores. While going through and organizing them into certain themes and topics, nearly 20 poems emerged.

So I began cutting, arranging and placing a variety of paint names on canvas, quirky and intriguing names meant to inspire homeowners to transform a tired kitchen or new home office. So far, “Desert Native” is now in the Drawn From the Desert Art Benefit show (Tamma's Magic Mercantile, Yucca Valley, CA) for a local artist--check out the show if you can, it is ongoing until the end of October 2011. Two more poems are completed and heading for Etsy, they are “Summer Camp” and “Mermaid Water Dance.”

The poems (each line a paint chip color/name):

Desert Native
Spring bloom
petal
cottontail.

Nimbus cloud
gossamer wings
something in the air
Canyon echo.

"Desert Native" paint chip poetry


Summer Camp
Mountain trail
mirror lake
skipping stones

Canoe
wishful thinking
first kiss
How sweet it is.

"Summer Camp" paint chip poetry


Mermaid Water Dance
Beach
seaglass
bottle blue

Blue ocean
dolphin grey
glistening moonlight
mermaid water dance.

"Mermaid Water Dance" paint chip poetry